


Cartoons have this magical ability to bring life to ordinary objects and turn them into quirky and lovable characters. Imagine being able to create your very own cartoon version of yourself or your friends just by using a photo. Sounds exciting, right? Well, in this step-by-step guide, I will show you how to turn photos into cartoons like a pro!
Why Create Cartoons from Photos?
Cartoons have been a part of our lives since childhood. They evoke nostalgia, bring smiles to our faces, and spark our imagination. Creating cartoons from photos is not only fun and creative but also a great way to personalize gifts, social media profiles, or simply have some artistic fun.
Step 1: Choose the Right Photo
The first step in creating cartoons from photos is selecting the right image. Choose a clear, high-resolution photo with good lighting and minimal background distractions. A frontal view of the subject works best to capture facial features accurately.
Step 2: Crop and Edit the Photo
Before transforming your photo into a cartoon, make sure to crop out any unnecessary background and edit the image for better clarity. You can adjust brightness, contrast, and colors to enhance the details of the subject.
Step 3: Choose a Cartooning App or Software
There are several online tools, mobile apps, and software available that can help you create cartoons from photos. Some popular options include Toonify, Befunky, Cartoon Photo, and Cartoonize My Pet. Choose one that suits your style and preferences.
Step 4: Upload and Customize Your Photo
Once you have selected your preferred cartooning tool, upload your edited photo and start customizing it. Play around with different settings such as cartoon effects, colors, and filters to achieve the desired look for your cartoon character.
Step 5: Refine and Fine-Tune
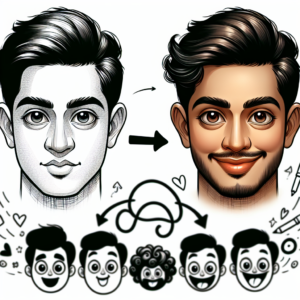
After applying the initial effects, take some time to refine and fine-tune your cartoon. Focus on adjusting details like facial features, hair, and accessories to make the cartoon as close to the original photo as possible. Pay attention to small details for a more realistic result.
Step 6: Save and Share Your Cartoon
Once you are satisfied with your cartoon creation, save the image in a high-resolution format to preserve its quality. You can then share it on social media, use it as a profile picture, or even print it to create personalized gifts for friends and family.
Tips for Creating Cartoons from Photos
1. Experiment with different cartoon effects to find the style that suits your photo best.
2. Pay attention to details like facial expressions, clothing, and backgrounds to make your cartoon more lifelike.
3. Have fun and let your creativity flow while transforming regular photos into captivating cartoons.
FAQs
Q: Are there any free cartooning tools available?
A: Yes, there are several free cartooning tools and apps like Toonify, Befunky, and Cartoon Photo that offer basic features for creating cartoons from photos without any cost.
Q: Can I create cartoons from photos on my smartphone?
A: Yes, there are many mobile apps available on both iOS and Android platforms that allow you to create cartoons from photos directly on your smartphone. Some popular apps include Cartoon Photo, Cartoon Maker, and Cartoon Face.
Q: Is it possible to customize the cartoon effects on my photo?
A: Yes, most cartooning tools and software offer a range of customization options such as adjusting colors, outlines, and effects to tailor the cartoon to your liking. Experiment with different settings to achieve the desired look.
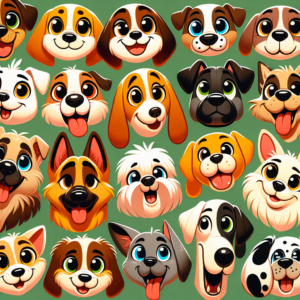
Q: Can I create cartoons of pets or objects from photos?
A: Yes, you can create cartoons of pets, objects, or even landscapes from photos using cartooning tools. Simply upload the image of the subject you want to cartoonize and follow the same steps to customize and transform it into a cartoon.
+ There are no comments
Add yours