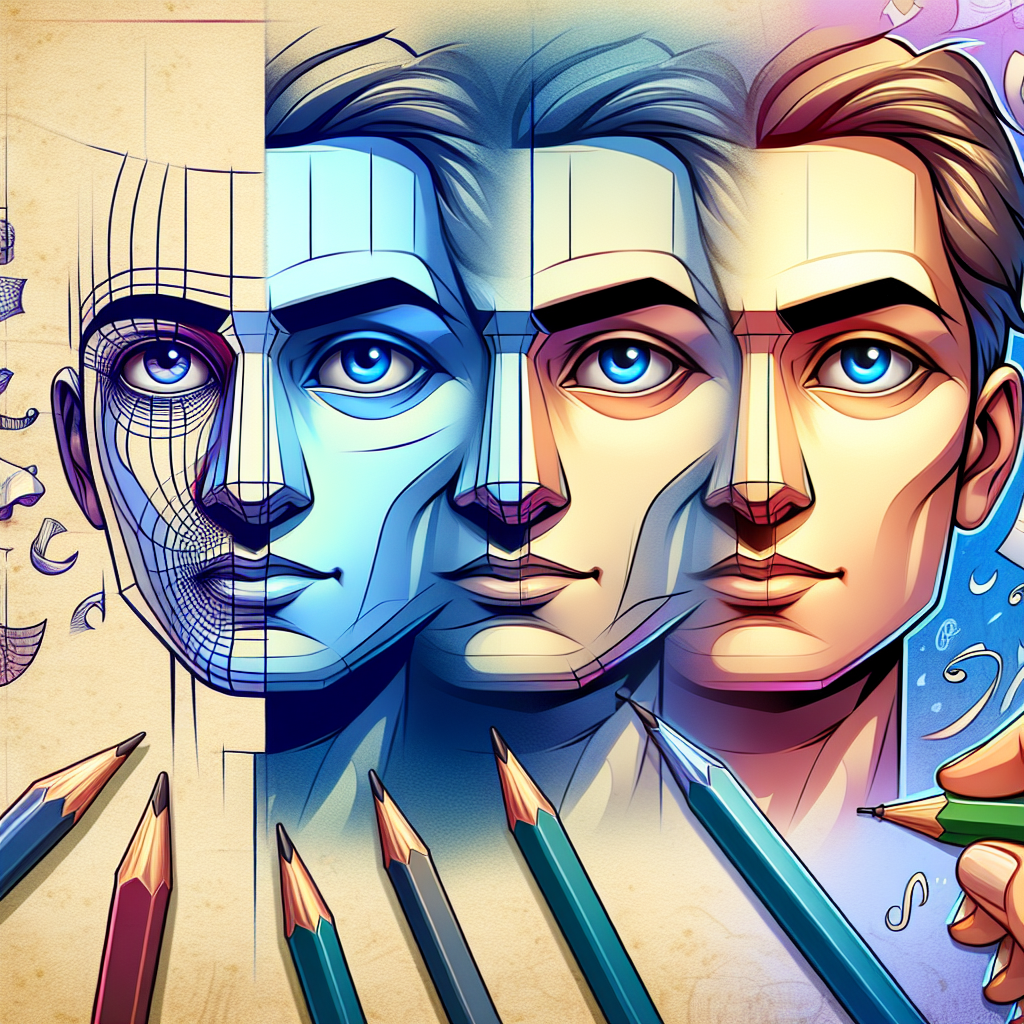
Imagine transforming yourself or your friends into whimsical cartoon characters with just a few simple steps. The art of face cartoonization allows you to unleash your creativity and add a touch of fun to your photos. Whether you’re looking to create a unique profile picture or surprise a loved one with a personalized gift, mastering the art of face cartoonization can open up a world of possibilities.
Step 1: Choose the Right Software
The first step in face cartoonization is selecting the right software that suits your needs. There are various options available, from free online tools to advanced software programs. Some popular choices include:
- Photoshop
- Illustrator
- Procreate
- Clip Studio Paint
Choose a software that you’re comfortable working with and offers the features you need to create stunning cartoon effects.
Step 2: Select Your Photo
Once you have your software ready, select a high-quality photo of the face you want to cartoonize. Make sure the photo is well-lit and clear to ensure the best results. Avoid photos with heavy shadows or blurry details, as they may impact the final cartoonization.
Step 3: Outline the Face
Using the software’s tools, start by outlining the face in the photo. This step helps define the facial features and creates a base for the cartoonization process. Pay attention to details like the eyes, nose, mouth, and hairline to capture the essence of the subject’s face.
Step 4: Add Cartoon Features
Now comes the fun part – adding cartoon features to the outlined face. Experiment with different styles and techniques to give the face a whimsical and playful look. You can exaggerate certain features, like eyes or mouth, to enhance the cartoon effect.
Step 5: Fine-tune the Details
After adding the cartoon features, it’s time to fine-tune the details to enhance the overall look. Adjust the colors, shading, and highlights to add depth and dimension to the cartoonized face. Pay attention to the small details to make the cartoonization more realistic and engaging.
Step 6: Final Touches
Once you’re satisfied with the cartoonized face, make any final touches to perfect the image. Add background elements, text, or other decorations to enhance the overall composition. Play around with different effects and styles to make the cartoonization truly unique.
Step 7: Save and Share
After completing the cartoonization process, save the image in a high-resolution format to preserve the quality of your work. Share the cartoonized face with friends and family or use it as a profile picture on social media to showcase your creativity and skills.
Frequently Asked Questions
How long does it take to cartoonize a face?
The time it takes to cartoonize a face can vary depending on the complexity of the image and your skill level. On average, it may take anywhere from 30 minutes to a few hours to complete the cartoonization process.
Do I need artistic skills to cartoonize a face?
While having artistic skills can certainly enhance the quality of your cartoonization, you don’t necessarily need them to get started. With practice and experimentation, you can develop your own style and techniques for creating unique cartoon effects.
Can I cartoonize multiple faces in a single image?
Yes, you can cartoonize multiple faces in a single image by following the same steps outlined in this guide. Just make sure to outline and define each face separately to ensure a consistent cartoonization throughout the image.


+ There are no comments
Add yours